Friday, February 25, 2011

February Extravaganza

I know I've been slacking on posting our daily activities during the month of February. In my defense, we've been SO busy with projects that there's been absolutely NO time to post! We did a lot for Valentines day and once that was over it was planning Aubrey's birthday bash! Now that I have time to take a breather, I decided to post pictures of some of the fun things we did in February, though, as I look through these pictures, I notice I'm even lacking in that department. Oh well! It was a fun month none the less :)
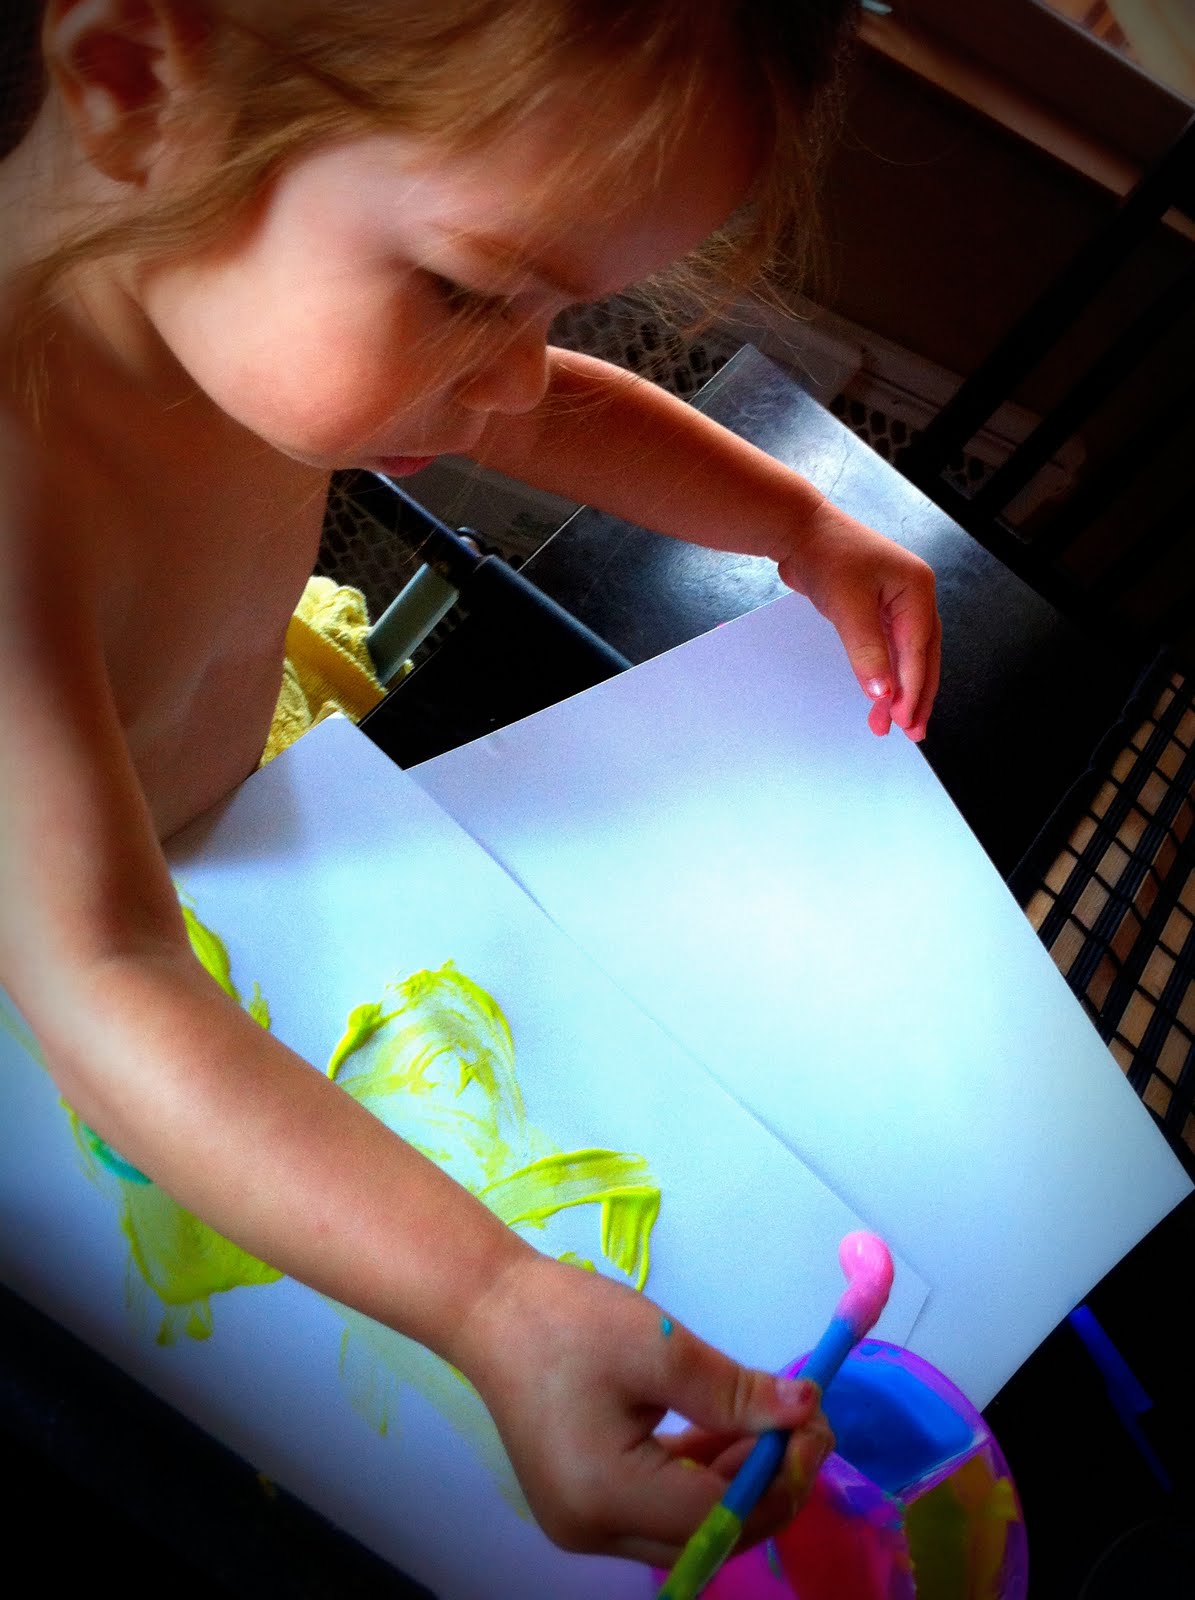
We made Valentines for our local friends... These took SEVERAL days because we had to make so many! Aubrey Loved her water bottle painting! They turned out so gorgeous!
We made three different types of truffles... Oreo, Chocolate Mint, and Nutter Butter. One type of truffle a day. These are always fun, and we get a tasty treat afterward!
We had all kinds of valentines, but no way to hold them. One day we worked together in making a little carrier. Aubrey loved using stickers and stamping on letters!
SNOW finally!!! It seemed like forever since we got fresh snow! It was a sight for sore eyes for sure! We woke up early to play in the snow with Daddy before we headed down the hill and he headed to work!
All that snow falling made it tough to get down to visit family and prepare for Aubrey's birthday party. We decided to take a birthday train ride! Aubrey loved it and did sooo good!
Once we got down the hill, it was raining like crazy. My sister had a bright idea to take the kiddos to the Stockton Children's Museum. It was amazing and so much fun to hang out with some of my favorites!
A bad picture of Aubrey, but had to use it! You saw the tutu tutorial, they turned out so cute! If you look close you can see the owl on Aubrey's shirt! It was so fun and so easy to make owl shirts for all the little girlies!
After our pizza party, some of us went to Funderland in Sacramento for some extra fun! Aubrey wanted to ride the fish so bad... but felt less enthused once she was actually ON the fishy!
So much happier squished in the tea cups with Abs, Mama, and Auntie!
Had so much fun spending time with family! I keep hearing "I want my Grayson" and "Where's Melia" Wish it didn't go by so fast... I sense a trip to the El Paso Zoo sometime in our near future!

Wednesday, February 9, 2011

Easy Tutu's

Aubrey's birthday is right around the corner. Anyone who knows me knows I LOVE dressing Aubrey in ridiculous things for her birthday, a tradition I started just last year, but plan to continue until shes old enough to stop me! Our plan is to go down the mountain and hang out with family and I have a lot of nieces. That said, I thought it'd be extra fun if this year I made tutu's for all the girlies. The perk, they're so simple! I didn't even break a sweat making five tutus!
Materials
Rolls of tulle, found in the wedding section of your local craft store
Thin headbands
Large Book... or back of chair...get creative
Ribbon
Ruler or cutting mat
Scissors or craft cutter
First, measure and cut your tulle in 14 inch pieces. You can work it however you'd like, but I liked cutting all the tulle strips first, in two different colors, keeping them separate for now. That way I don't have to keep going back to this step.
Once your strips of tulle are ready grab one strip of color A and then stack one strip of color B on top of it. Next, hold them together and tie them onto your headband, as shown above (yes I'm wearing pajamas, judge me later). Keep doing this until you've tied tulle all the way around the headband. You can push the strips tightly together, or spread them out more, depending on how full you want your tutu... er, I mean, your child's tutu!
Once you've done that, you can spruce up this sassy skirt but adding strips of ribbon. To do this, cut 10 inch pieces of ribbon and distribute them evenly amongst the headband. Just tie them in the same way you tied the tulle. I'd say around 10-12 pieces of ribbon would suffice. I used two different types of ribbon on this one.
And there you are... the tutu is complete and ready to wear.

Ice Blocks


I've had these ice blocks ready and waiting for our next big storm because new snow is much prettier than month old snow... but I finally just got tired of waiting, though I'm getting worried I might never see another crisp white pile of new snow. It is a super easy project that I'm sure is right for some kids, though mine was not quite ready for it, as you'll soon see.
Materials
Cups
Food Coloring
Water Color
Freezer
First, just fill as many cups as you'd like with water. Add a few drops of water color in each until you've reached your desired hue
Next, put them in the freezer until they are good and frozen. I can't give you a certain amount of time because I left mine in for weeks hoping it would snow, though, snow is not required for this project :) Once they're ready just pop the now ice blocks out of the cups.
And that's about it, just use them like any old blocks. Take them outside to play, because they do leak color while melting. Aubrey was getting mad at them because they were too cold, but wouldn't keep her gloves on. That said, I feel like this is a good project for children who have reached the age of reason... you know, the ones who can see the logic in keeping gloves on while playing with ice. That, friends, is not my child :)

Wednesday, January 26, 2011

Sneaky Chef Muffins :)


So this one I'm extremely excited about! Not only did I get to sneak spinach and blueberries into a very tasty cupcake, I also made homemade frosting that contains less sugar and is packed with lots of protein and calcium. Super mom for the day, check. Thank you sneakychef.com. There are a lot of steps to this, but you can find them all on her website... which encouraged me to purchase her book, well worth it!
First off, you have to make your puree. Totally simple, and she suggests making a bunch in advance so its readily available. To get the recipe for the puree, go to sneakychef.com, then go to the free recipes tab and click all recipes. Find the make ahead recipe for purple puree.
Make sure to involve your little helper...
Next follow the recipe called "Quick Fix for Chocolate Cake Mix" which omits the oil for the puree and adds wheat germ.
If you feel like making your own frosting, here's the recipe
Makes about 3/4 cup
1 cup nonfat dry milk
1/2 cup powdered sugar
1/4 cup boiling water
1 teaspoon pure vanilla extract

Mix dry milk and powdered sugar in a bowl, then add the boiling water and vanilla extract. Mix very well. If needed, add a little more water, half a teaspoon at a time, until you reach the desired consistency.

In the end, the cupcake wasn't bad at all... My husband and I agreed that it wasn't as sweet as following the original recipe for the cake mix. If I did it again I'd probably use regular frosting, saving the frosting recipe shown above for regular cupcakes.... but Aubrey didn't seem to notice the difference.

Homemade Fingerpaint 2... with Yogurt


After the first version of homemade finger paint, I remembered a project that my sister did with her son a few months back... I also remembered that it's 10x easier than whisking flour and water for several minutes at a time, so I thought, lets see how this one compares.
Materials
Plain yogurt
Food Coloring
Formula Divider
It's really so simple, all you have to do it scoop yogurt into the different sections of the formula case...
...and put a few drops of food coloring in each...
and that's it! Aubrey loved painting with it, both in her paper and her arms :-/ Once she figured out the paint tasted good it turned in to a snack... Can't go wrong doubling an art project with her morning snack, right?!

Homemade Fingerpaint 1

I found this recipe for homemade finger paint and had to try it since finger painting is one of Aubrey's favorite things to do. It was actually more difficult than I thought it would be... not horribly difficult, but difficult enough when we're talking finger paint, something simple enough to just go and get in a store. Oh well, it was a new experience none the less, and Aubrey enjoyed herself!
Materials
1 cup of Flour
4 cups of Water
Food Coloring
Makes about 2 cups of paint
All you have to do is mix one cup of flour and one cup of water together in a pan until smooth and add the other 3 cups of water. Cook mixture over medium heat until it starts to bubble gently, and then allow it to cook for another minute or so. I think I didn't cook it too long, and it turned out thinner than I would've liked.
Once the mixture is fully cooked, put it in the fridge and let it cool for approximately two hours.
Separate the mixture into different cups or, as I have, in a old formula divider (my best trick) and drop food coloring in until it reaches the hue of your choice. Stir and then paint. Done.... Okay, I guess it's not that hard, just takes a while.

Monday, January 17, 2011

Handprint Owl

This project was funny because we had no idea what it was going to become when we started. We just started doing piece by piece until we got something. It was a joint effort, for sure, but I love the end result!
First we painted her hands and make two little hand prints.... this was her favorite part. Afterward she just kinda painting while I put it all together... good team work!
I just found a picture of an owl and tried to mock it. I did piece by piece and then threw it all together. I'll try to show you enough for you to be able to do the same.
It helped that I had some neat scrapbooking paper to chose from. I used the piece shown above as eyes for our little owl
Made little feathers by curling up the paper, to give the owl a little bit of "something" extra... again, just kept adding random stuff